

I used to fear the command line. As a cartographer, time and again I elected to use software with a visual interface — from QGIS to Mapbox Studio. But I kept running up against situations when I would look up how to do something and the advice told me to turn to a tool that was only available on the command line. And I kept running.
But, as Zed Shaw eloquently states in his command line crash course:
If you have an irrational fear of the command line, the only way to conquer an irrational fear is to just shut up and fight through it.
This post is for people like me, who generally understand mapping and GIS, but don’t know much of anything about the command line. I’ll talk about why you should care about it, cover some of the basics, and go through a quick example of how to use two powerful command line tools for manipulating geodata — ogr2ogr and GDAL. I’ll leave you with other command line resources for further exploration.
What is the command line and why should you care?
The command line (also known as command line interface, or CLI) gives you access to your computer’s innards. It’s how you talk to your computer directly, without going through the intermediary of a graphical interface. You type things in, and the computer responds by typing things out on the screen. A shell is the interface where this typed interaction between human and computer takes place. On Mac and Linux, the default shell is called bash, which you access through the Terminal application. On Windows, it’s PowerShell.
Attempting to turn your computer from a magical black box into something that you have more control over can be intimidating. But by learning the command line, you have access to geo tools that are only accessible there, or you can do your work much faster than through a heavy software program. At first, it might feel like you are blindly following instructions, but with more practice you’ll start to feel like you understand more of what you are doing.
Why? Because if you want to learn to code, then you must learn this. Programming languages are advanced ways to control your computer with language. The command line is the baby little brother of programming languages. Learning the command line teaches you to control the computer using language. Once you get past that, you can then move on to writing code and feeling like you actually own the hunk of metal you just bought. Zed Shaw, The Command Line Crash Course
Getting started
First, you’ll need to install GDAL so that down the road we can do some geoprocessing with it. GDAL and ogr2ogr are two amazing command line utilities — GDAL can be used for processing raster data, while ogr2ogr is for operations with vector data types (read more about vector vs. raster data types).
Now let’s get started on the command line. You’ll need to open up your shell. On Mac, press ⌘ + spacebar to open your computer search, type in Terminal and press return. On Windows, open up PowerShell. (I am working on a Mac, so that is where all of my screenshots and examples come from.)
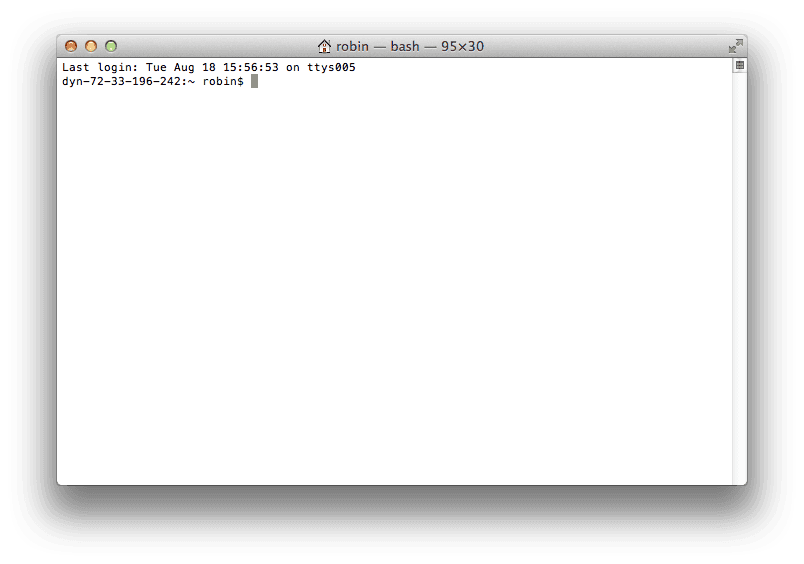
Once it’s open, you will see something that looks more or less like this, but with the name of your username instead of mine, followed by $. On Windows, you will see something similar but followed by >.
We will use the shell to access different files and programs on your computer. So, first we need to find which directory (aka folder) we are in. Type pwd into your shell. This means present working directory and tells you the location that the shell is currently accessing.
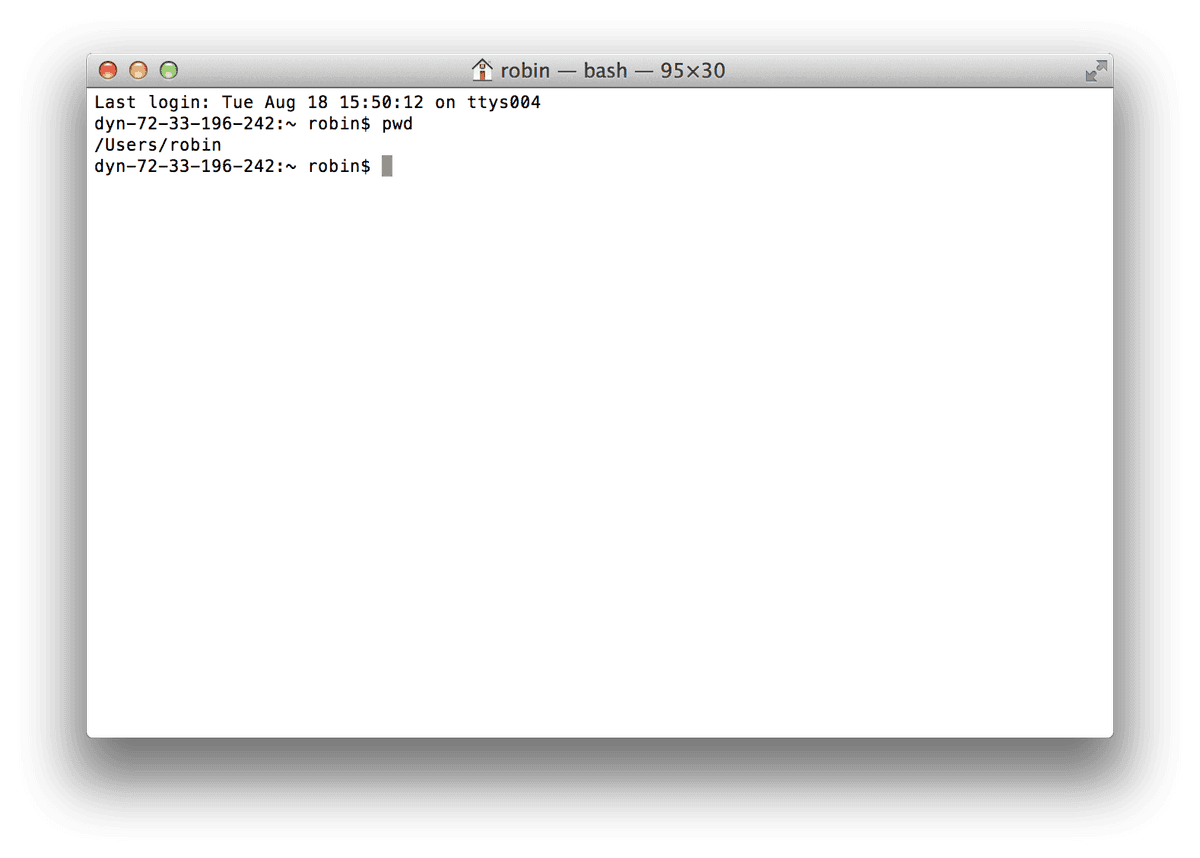
The shell prints out /Users/robin, telling me that that’s the directory I’m currently in.
Now, I want to see everything that’s in the /Users/robin directory, so I type ls and get this on the screen:
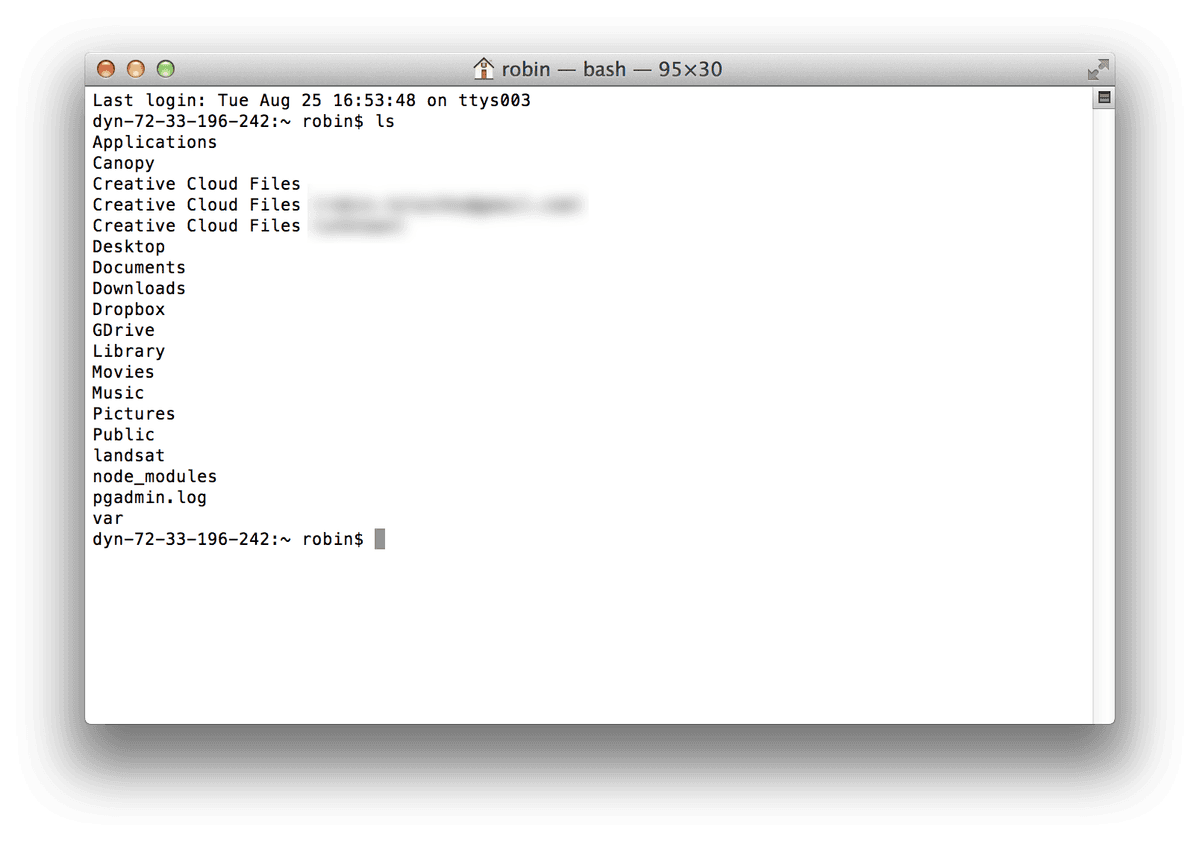
Now we see the Desktop in there. To get to any directory or file within the present working directory, you just type in cd and then the name of the directory or file. cd stands for change directory and this allows you to move around to a different directory on your computer.
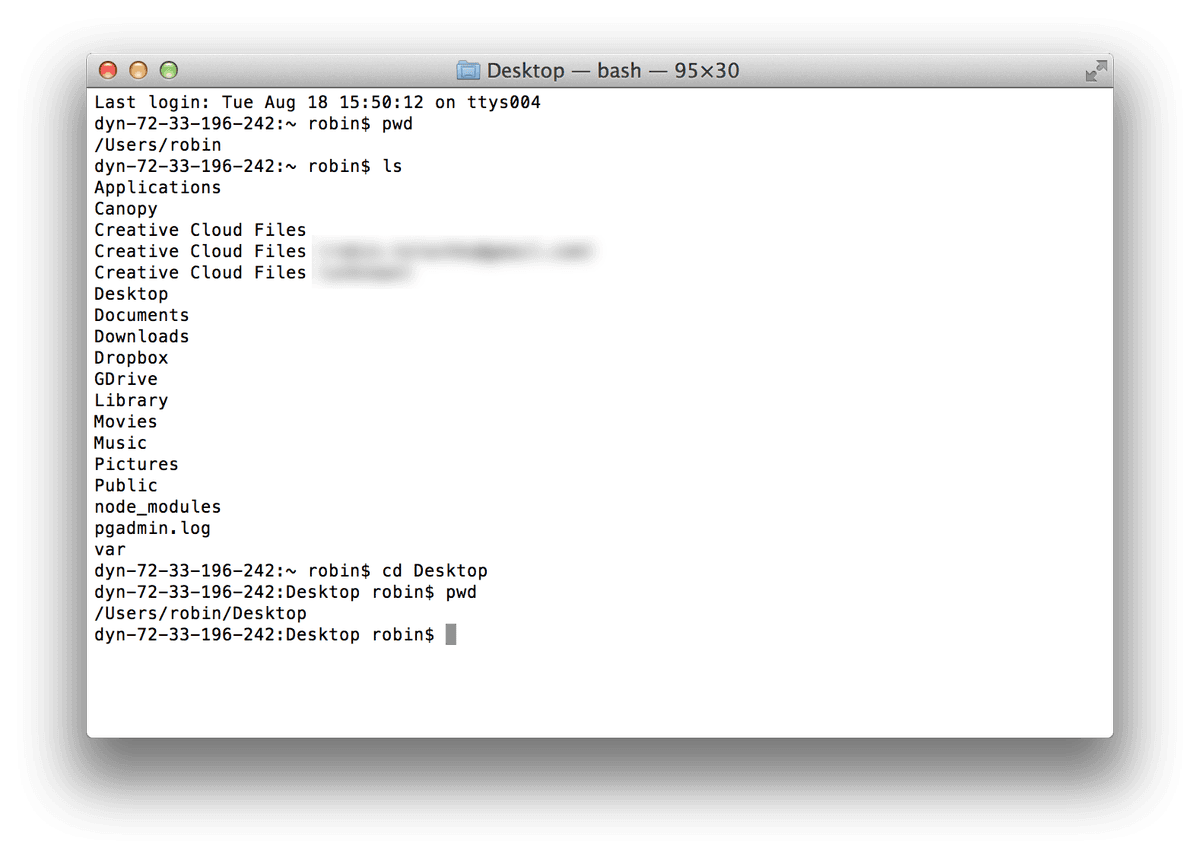
So for me, I just type in cd Desktop (Side note: you can use the tab button as a shortcut - so if I type the first couple of letters of Desktop and then hit tab, it will autofill with the full directory name so I don’t have to type it out completely). Now when I type in pwd, the shell prints out Users/robin/Desktop, showing me that I’m inside my Desktop directory:
When navigating around your directories, .. means parent directory. Now that I am in the Desktop, if I want to go back to Users/robin/ I just type in cd .. and it takes me up to the “parent” of my current directory, meaning the directory that my current directory is within.
Actually doing something geospatial using GDAL and ogr2ogr
We’re going to convert a polygon shapefile to a GeoJSON format and then clip a satellite photo to the bounds of that polygon, all using GDAL and ogr2ogr, which you downloaded earlier. You can download the zipped shapefile and the Landsat satellite image. We’re looking at Dane County, Wisconsin (because Wisconsin in the summertime is lovely).
Go ahead and download those files, wisconsin.tif and dane-county.zip. They’ll probably be in your Downloads folder. In my case, I’ve placed them on my Desktop. Unzip the zipped shapefile, dane-county.zip. It will create its own folder within whatever directory the zipped file is in, so keep that in mind when you are doing the following commands.
First, we’re going to convert the shapefile into a GeoJSON. You’ll need to navigate to the folder where your shapefile is saved using the cd command to change directory and pwd to check and make sure you’re in the right place. You can always use ls to list the files in that directory and make sure they’re in there. Then you’ll type in this command:
ogr2ogr -f "GeoJSON" dane-county.json dane-county.shp
Let’s break that down. ogr2ogr is the command you’re using, which you have access to because you installed GDAL above. As is the case with many command-line utilities, after the command you have some optional flags. These are extra conditions or parameters that you can set to tell the program how to do what you want it to do. In this case, we are using the -f flag, which tells the command that we want to specify a filetype that we want the output to be saved as. After the -f flag, we specify the filetype, in this case, GeoJSON. Then we put in a name for the output (I put dane-county.json but you can put output.json or awesomeness.json or whatever you want). Finally, we put the input file, dane-county.shp.
You should see in your directory that you have a file called dane-county.json and you have converted your shapefile to a format better suited for the web!
Now we’re going to practice using GDAL to clip a Landsat satellite image to the bounds of a shapefile. First let’s open up that beautiful TIF file to see what it looks like (you already know how to simply double-click on the file to open it, but that’s cheating! Use the command line!). The command we’re going to use is open, which opens the file using the default program. Using the commands cd to change directories and pwd to check which directory you’re currently in, navigate to the directory where your files are located. Then type in open and the name of your file (in this case, wisconsin.tif). For Windows users, navigate to your directory and then just type in the file name.
open Users/robin/Desktop/wisconsin.tif
(Pro-tip: You can also drag-and-drop the file from the directory onto the command line to get the full path name.)
Now we know what the image looks like. The GeoJSON that you just converted is a polygon of Dane County, Wisconsin, which takes up part of the area of the satellite image (you can always open it up in the GIS program of your choice to take a look). To crop the image to the GeoJSON, we’re going to use this command (I recommend typing the command in yourself, don’t copy/paste it):
gdalwarp -cutline dane-county.json -crop_to_cutline wisconsin.tif dane-county.tif
Let’s break this down to make sure we understand what’s going on.
gdalwarp is a powerful GDAL command that allows you to reproject, crop, and warp georeferenced raster files. The documentation on -cutline says:

That doesn’t really make much sense. That’s why I rely on other people for help because the formal documentation is often unclear. I got the above command from Derek Watkins’ GDAL cheat sheet.
I know from looking at the command that -cutline is followed by the vector file, so my guess is that -cutline is indicating the bounding area that you want to crop the raster to. Then comes -crop_to_cutline, followed by the original TIF file and then the name that we want to give to the output TIF file. The output will save in your present working directory unless you specify a path to a different directory.
We know how to open a file now, so let’s open up the output and see what it looks like.

Go forth and command
You won’t learn the command line overnight, and this post isn’t going to get you all the way there, but it’s a start. If you want to keep exploring, check out the resources below. I downloaded the Landsat image used here using landsat-util, a command-line utility that lets you search for, download, and process Landsat imagery.
Part of what’s intimidating about the command line is that many of the online resources out there are unclear or aimed at people who already have a deeper understanding of it. So don’t be afraid to ask for help — check out Stack Overflow or join the Spatial Community slack group. Feel free to reach out to me or Development Seed on Twitter, too.
Most importantly, when you come across a situation in your normal workflow when you think to yourself, “If I knew the command line, this would be easier/faster,” force yourself to do it. Push through your fear.
Resources
Learn more:
-
The Command Line Crash Course: Zed Shaw’s course that served as inspiration for this tutorial.
-
Learn the Command Line: Codecademy just came out with a new course for learning the command line.
-
GDAL Quickstart: Getting to know GDAL.
-
GDAL Cheat Sheet: Derek Watkins’ cheat sheet of common ogr2ogr and GDAL commands.
-
Terminal Cheat Sheet: Cheat sheet for basic Mac Terminal commands
Other geo command line tools:
-
Mapshaper: Used for editing vector file formats, including tasks like editing attribute data, clipping, erasing, dissolving, filtering. Especially useful for simplifying shapes.
-
Landsat-util: Allows you to search for, download, and process Landsat imagery. Created and maintained by Development Seed.
-
rio: CLI for rasterio, which reads and writes geospatial raster files. Uses GDAL, but “is designed to make working with geospatial raster data more productive and more fun.”
-
Topojson: Create and manipulate TopoJSON files, which are like GeoJSON but preserve topology.
-
geojsonio-cli: Shoot GeoJSON files from the command line to geojson.io for visualization and editing.
-
Fiona: A CLI for Python programmers who want to use OGR (see also the cheat sheet).
What we're doing.
Latest